
An Open-Source DoorDash Clone? Lucine Pt. 3
Introduction
Welcome back! In the last article, we continued to add to our requirements document. We stressed–yet again!--the importance of gradually describing your requirements from high-level to low-level by asking “how?” and “why?” to every requirement we came up with. This article will continue where the last left off by discussing concrete implementation details. In particular, we will be brainstorming some UI implementations for the website.
What About the UI?
We are at a point in our design process that it is hard to answer further questions due to the nature of them. As a reminder, here is where we left off last time:
- Allow customers to request orders for deliveries on our platform.
- Customers select their desired items from our user interface.
- Customers can place orders on our web application.
- The website will work by presenting restaurants to the user that the user can order from.
- The website will store all partnered restaurants.
- We will develop UI components that are intuitive for our customers and let them click on each restaurant and see details about how close the restaurant is, the rating for the restaurant from other customers, and a link to the restaurant's menu.
- When a user selects one of these restaurants, they are presented with a menu that they can use to build up their order.
- The menus will be displayed by storing menu items for each restaurant and finding some way to link the menu to the restaurant we are also storing.
- Each item for the menu can be interacted with to add menu items to a list to keep track of the customer's order.
- Menus will only be accessible from the restaurant's page that the menu belongs to.
- After they have selected their desired items, they will be taken to a "checkout" page that they can then use to pay for and place their orders.
- The website will work by presenting restaurants to the user that the user can order from.
- Customers can place orders on our mobile app.
- Customers can place orders on our web application.
- When payments are successful, the user gets their receipt and an ETA.
- Customers select their desired items from our user interface.
The lowest level details we have bordered on implementation details, such as UI layout, button placement, UI content, etc. Turning these details to our fabled “how?” and “why?” questions and trying to answer them, as we have done in previous articles, will produce questions that can be answered using diagrams and/or drawings. For example, asking “How?” to the following, “We will develop UI components that are intuitive for our customers and let them click on each restaurant and see details about how close the restaurant is, the rating for the restaurant from other customers, and a link to the restaurant's menu” results in the answer: “The UI components will be created using web programming languages such as HTML, CSS, and JavaScript. Restaurants are presented to the customer as a list they can scroll through, with this list being sorted by location and user rating. Clicking any item in this restaurant list will take the user to the corresponding restaurant page that has the restaurant’s menu for display.” We can also just respond with a drawing of the UI layout to answer this question.
At this point, we are forced to start making decisions about how something should look or work, and these decisions take time to change later on down the road. We can present the customer with the restaurants to choose from in a variety of ways (as a grid, as a list, one at a time, etc) but we are making the decision here to choose a list and stick to it. All further, lower-level details we may come up with based on this answer have this “list” design locked into it. This is why we need to be careful when dealing with these lower levels of abstraction. We need to consider how each possible implementation could cause us issues later down the road because they are not easy to change from this point forward, or rather they are much harder to change at this level.
Abstraction discussions aside, we can now think about how we __want this to look. There is a lot of psychology that goes into good UI/UX designs, and I am not qualified nor competent enough in this domain to try and design my own. Therefore, I will make use of pre-made templates when I can. Early in my career, I used to think that this was cheating and that it meant I wasn’t a good developer; this is an insidious train of thought and all it did was prevent me from actually building anything at all. If you can make use of something else for your project, all you end up doing is building your project quicker and there’s nothing wrong with that.
We’ll use the Salient template from Tailwind UI to get us started (https://tailwindui.com/templates/salient). This doesn’t exactly come with the “list” style component that we need, but it’s a fantastic starting point to build from. The Salient template is a paid template that can be used in open-source projects, so it’s a perfect fit for Lucine. This template comes as a TypeScript Next.js template, which is also acceptable because Next.js is how the web application was going to be built anyway.
To use this template, we need to download the .zip file from https://tailwindui.com/. We’re using the TypeScript version of the template, so we want to copy the contents of the “salient-ts” folder into our GitHub repository (which is named “lucine”). After copying everything over, we want to open the repository directory in a new terminal and type “yarn” if you use yarn or “npm install” if you use npm. Either of these commands will install all of the necessary dependencies for us. After all of our dependencies are installed, we can check out the template by typing “yarn dev” and then going to http://localhost:3000/.
If everything worked out correctly with the setup, we should see the template and can now interact with it. Our next steps are to modify the template so that it is relevant to a delivery business (lol) instead of some fake accounting software. I will spare most of the details, but there are some important things in the code for this template that I would like to cover. First of all, we are using Next.js 13 so all of our application code can be found inside the /src/app folder. This code includes all of our HTML, TypeScript, and server-side code.
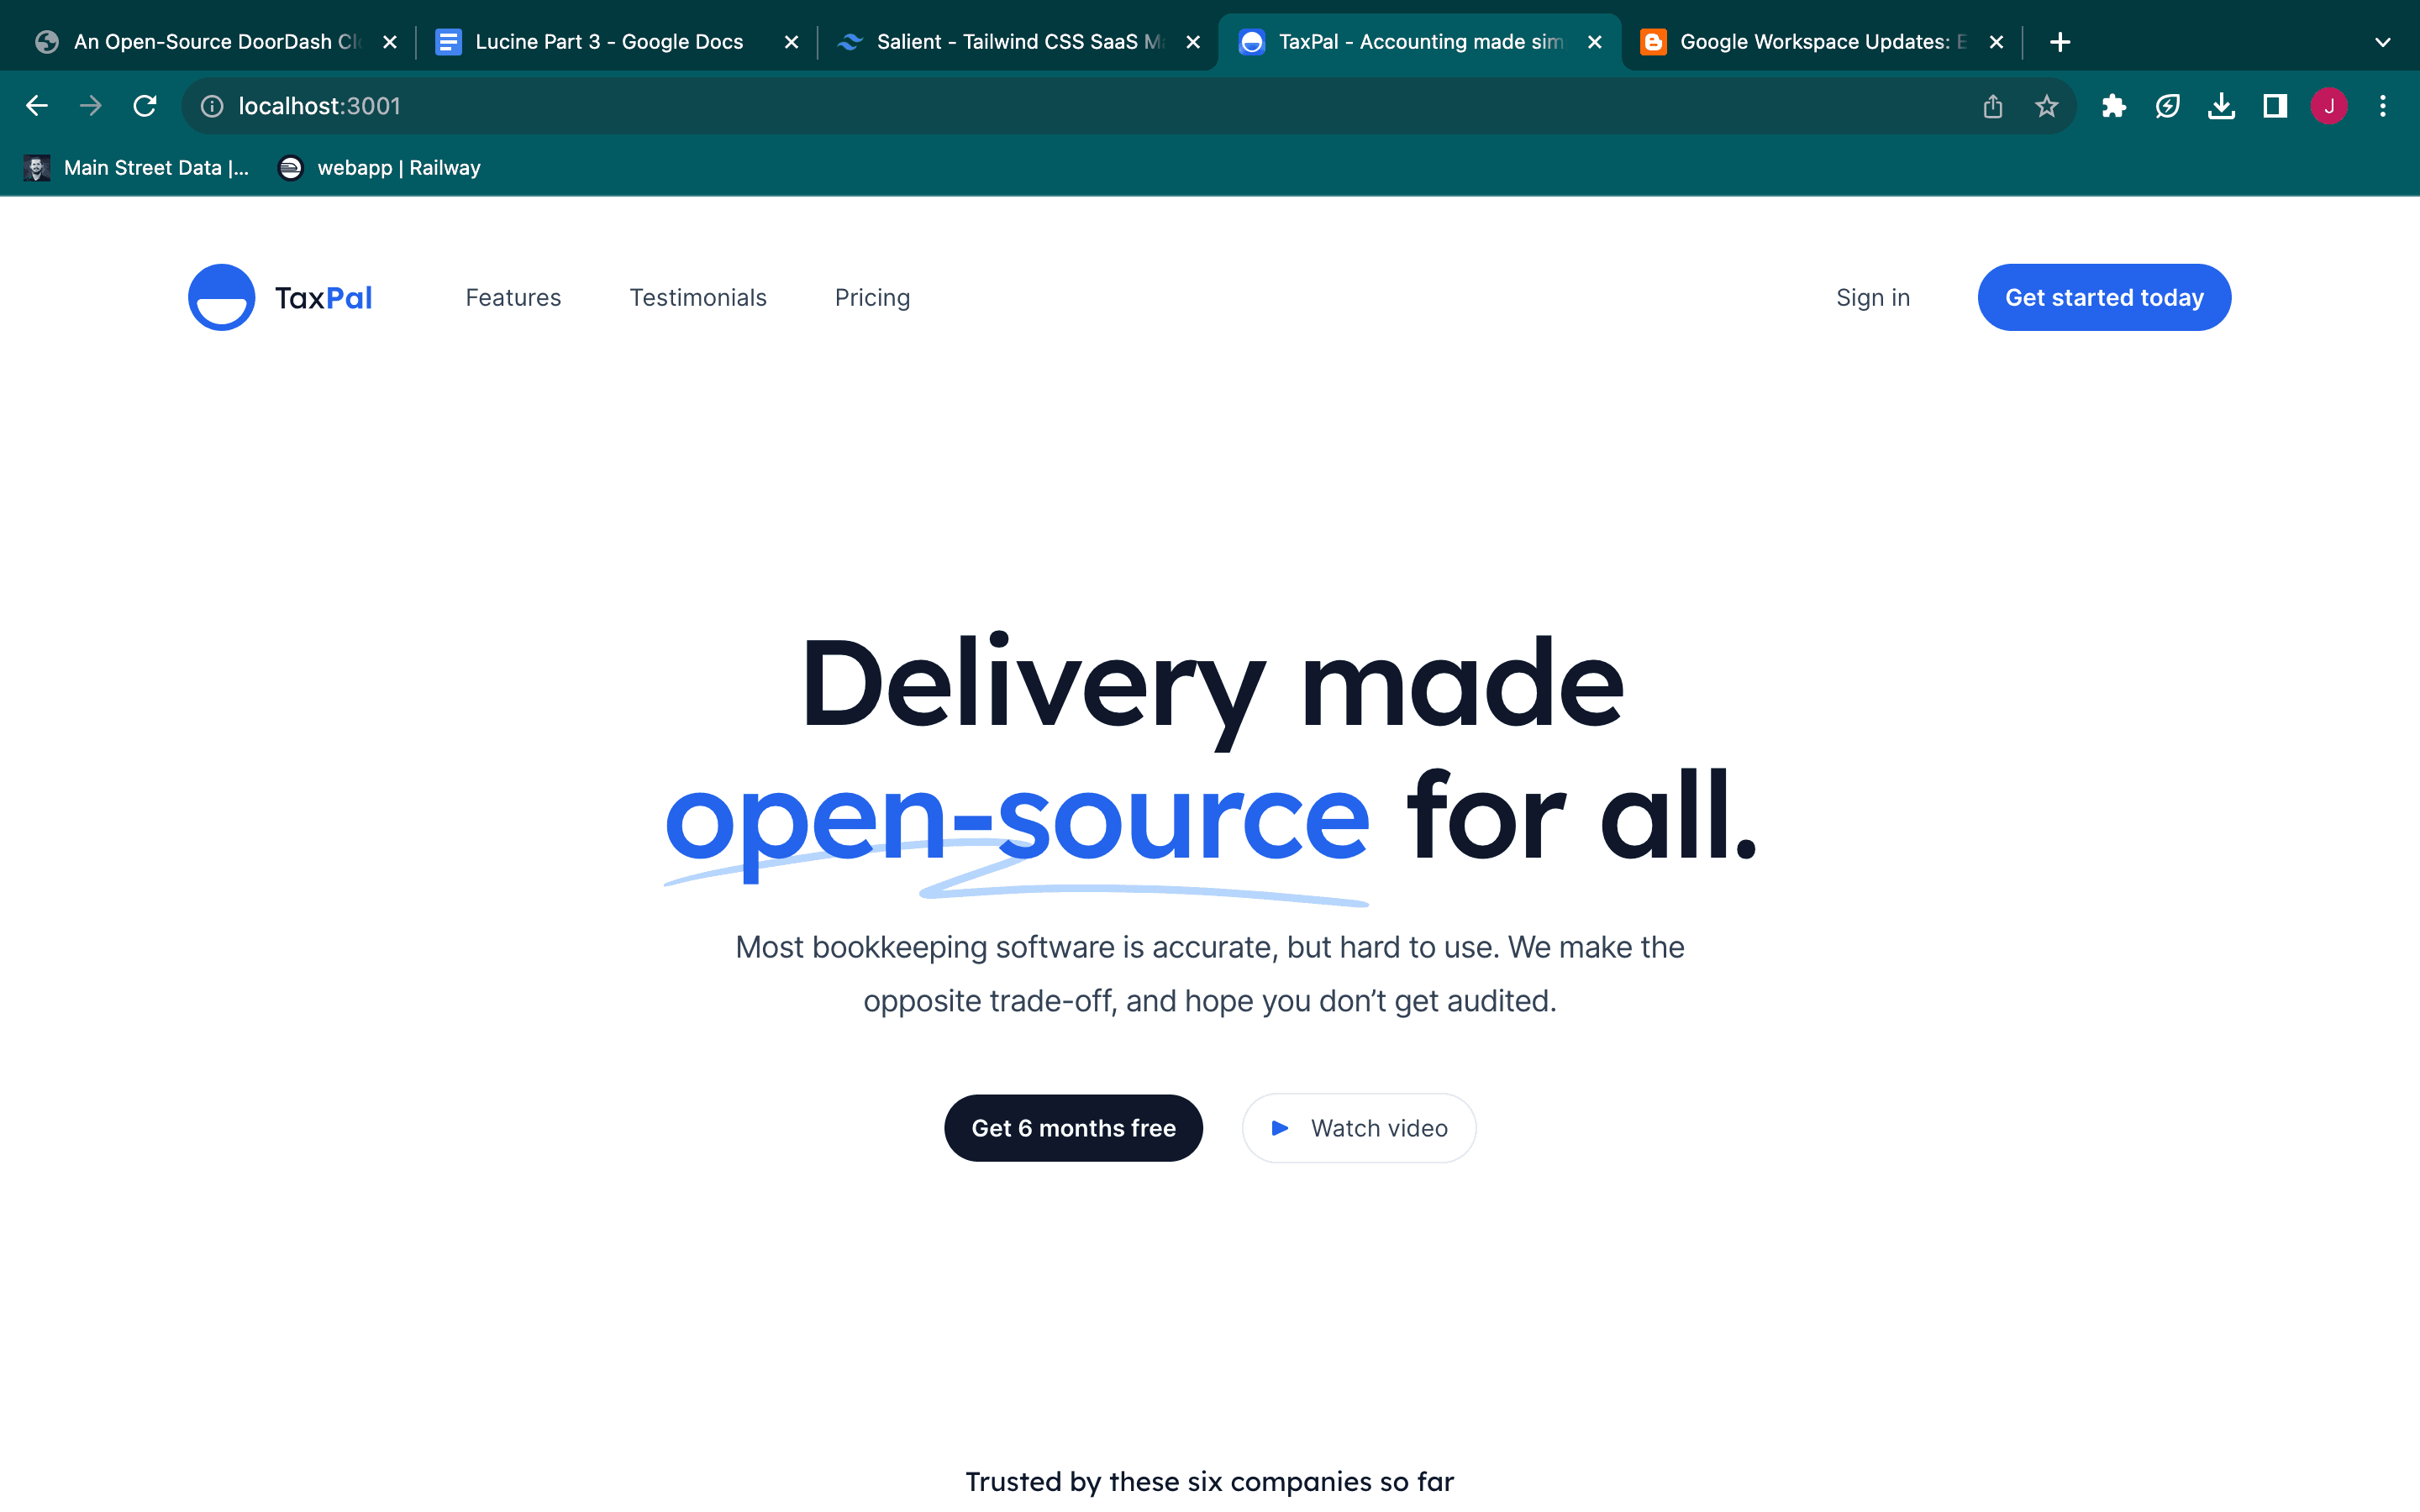
I want to change the Hero section (the big bold “Accounting made simple for small businesses.” part) to say “Delivery made open-source.” or something like that. So, we need to find the code for this. I won’t go too far into the details of the Next.js 13 router, but each folder is a route in the URL for our application and each folder should have a page.js/ts/jsx/tsx that indicates the HTML for that route.
If we go to /app/page.tsx, we can see the following:
We can make an educated guess that the <Hero /> component here has the text in question we care to change. So let’s go to this component’s source and we find the following:
So it seems like we just need to change the text here and it should do the trick. After doing so, we get the following on the live site:
Great! We've already done some "real" development work (haha). This is a great place to wrap up. In the next article, we will continue with modifying this template and exploring its code. We will also finish our requirements document.
Looking forward to it! See you soon!
Thanks to my beautiful, wonderful wife for proofreading this article!